Recipe: Honey Wheat Dinner Rolls
As fall and winter approach, many of us crave warm, comforting foods, especially those with enticing aromas. Many will agree that fresh-baked bread and dinner rolls are some of the best smells that fill your house. The problem is that many of us are looking for ways to infuse more nutrients into our dishes, and bread and rolls aren’t well-known for that. As a remedy, we’ve created this honey wheat dinner roll with whole grain benefits to provide the comfort you crave as a pairing for your next evening or holiday meal.
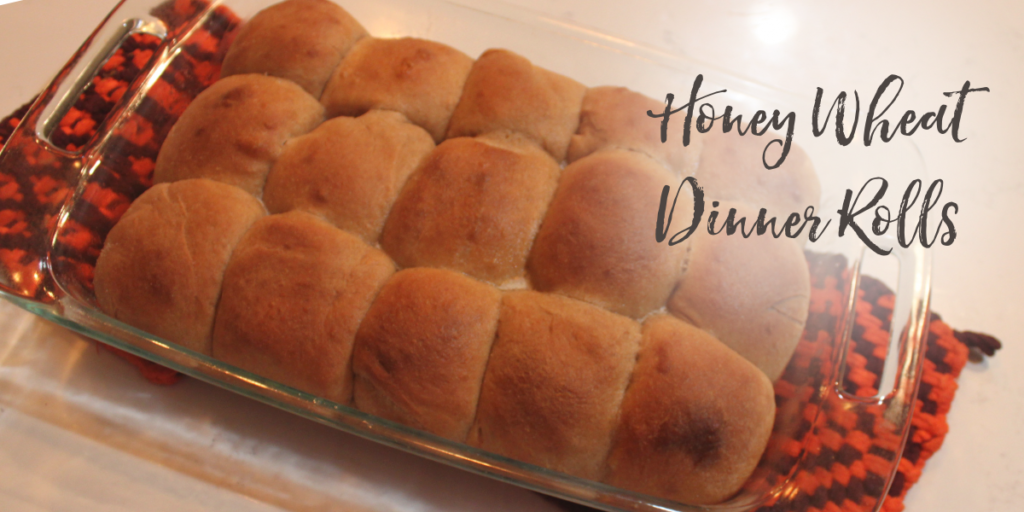
Honey Wheat Dinner Rolls
Makes 15 rolls
Ingredients:
- 1 C milk of choice (the higher the fat content, the softer the roll)
- 1/4 ounce packet of instant dry yeast (or 1 packet)
- 1/3 C unsalted butter, softened and cut into small pieces
- 1/3 C honey
- 2 large eggs
- 1/2 tsp salt
- 2 C whole wheat flour
- 2 C bread flour (plus more for kneading)
Directions:
- Warm milk in the microwave in 30-second intervals until it reaches about 110 degrees Fahrenheit.
- Add the contents of the yeast packet to a large mixing bowl.
- Pour the milk over the top and whisk well. Allow the milk and yeast to sit for 5-6 minutes, or until the mixture turns foamy.
- Using the whisk attachment on a stand mixer (or whisk by hand), add the butter to the bowl and whisk on low speed until the butter has broken into small pieces.
- Add the honey, eggs, and salt, and keep whisking on low until well incorporated. The butter will not fully mix in, and that’s okay!
- Switch to the bread hook attachment for a stand mixer, or to a wooden spatula for mixing by hand.
- Slowly add the flour, 1 cup at a time, scraping down the bowl between additions.
- Once all the flour has been incorporated, continue using the dough hook attachment to knead the dough on low for 6-8 minutes, or until a sticky ball forms. If kneading by hand: turn the dough out onto a well-floured surface. If the dough gets too sticky, continue adding a tablespoon of flour at a time until the dough forms a ball. Do not add too much flour, or the rolls will be very dry.
- If using a stand mixer, turn the dough out onto a floured surface. In both cases, spend an extra minute kneading by hand, slowly forming the dough into a smooth ball. When you lightly press the dough, it should spring back, and then it’s ready to rise.
- Transfer the dough to a well-oiled bowl, turning it to coat all sides of the dough. Place the bowl of dough in a warm location and cover with a towel or plastic wrap.
- Allow to rise for 1 to 2 hours, or until the dough has roughly doubled in size.
- Turn the dough onto a floured surface. Punch the dough down to remove any trapped air bubbles. Shape it into a rectangle, about the size of a 9″ x 13″ baking dish.
- Using a knife or a pizza cutter, cut the dough into 5 rows of 3, making 15 rolls. They do not have to be perfectly even; being similar enough in size will work. Shape each roll into a ball.
- Lightly grease a 9″ x 13″ baking dish, and add the rolls to the dish. Cover again with a towel or plastic wrap and allow to rise for another hour in a warm environment.
- Preheat the oven to 375 degrees Fahrenheit.
- Bake the rolls for 25 minutes or until fully cooked through. If the rolls are getting too brown on top, cover them loosely with aluminum foil to help them cook without burning the tops.
- Optional: When the rolls come out of the oven, you can coat them with melted butter and add a sprinkle of salt, if desired.
Tip: The rolls can be made ahead of time and frozen for up to three months. Baked rolls can be stored in an airtight bag or container for a few days on the counter, or up to a week in the refrigerator.
Recipe modified from: Sally’s Baking Addiction https://sallysbakingaddiction.com/whole-wheat-rolls/
